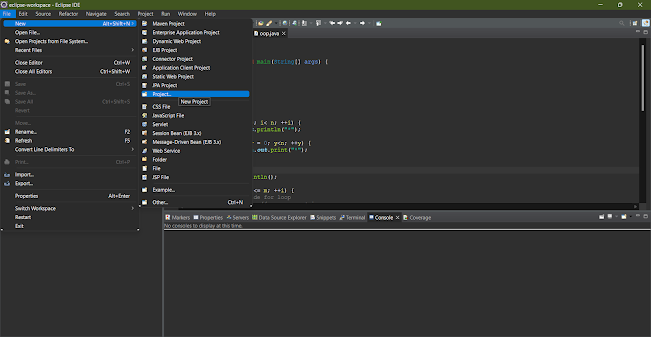
Today I will show you how to create Java Project in Eclipse IDE
First You should install Eclipse IDE to your computer.
Then open Eclipse IDE and go to the file and click new and click project.
Now choose Java project and Click "Next" button.
After you should give a name for your java project.
Click "Finish" button, now IDE createed your first project, you can see your project in left package explorer.
In Next article we teach how to create java class and get simple output.
Good Day!
Tags
java project create


